East Tangat Wreck.
A compact wreck that slopes to ~20 m: one breath takes you from bow to stern.
11.9741° N, 120.0790° E · Coron Bay
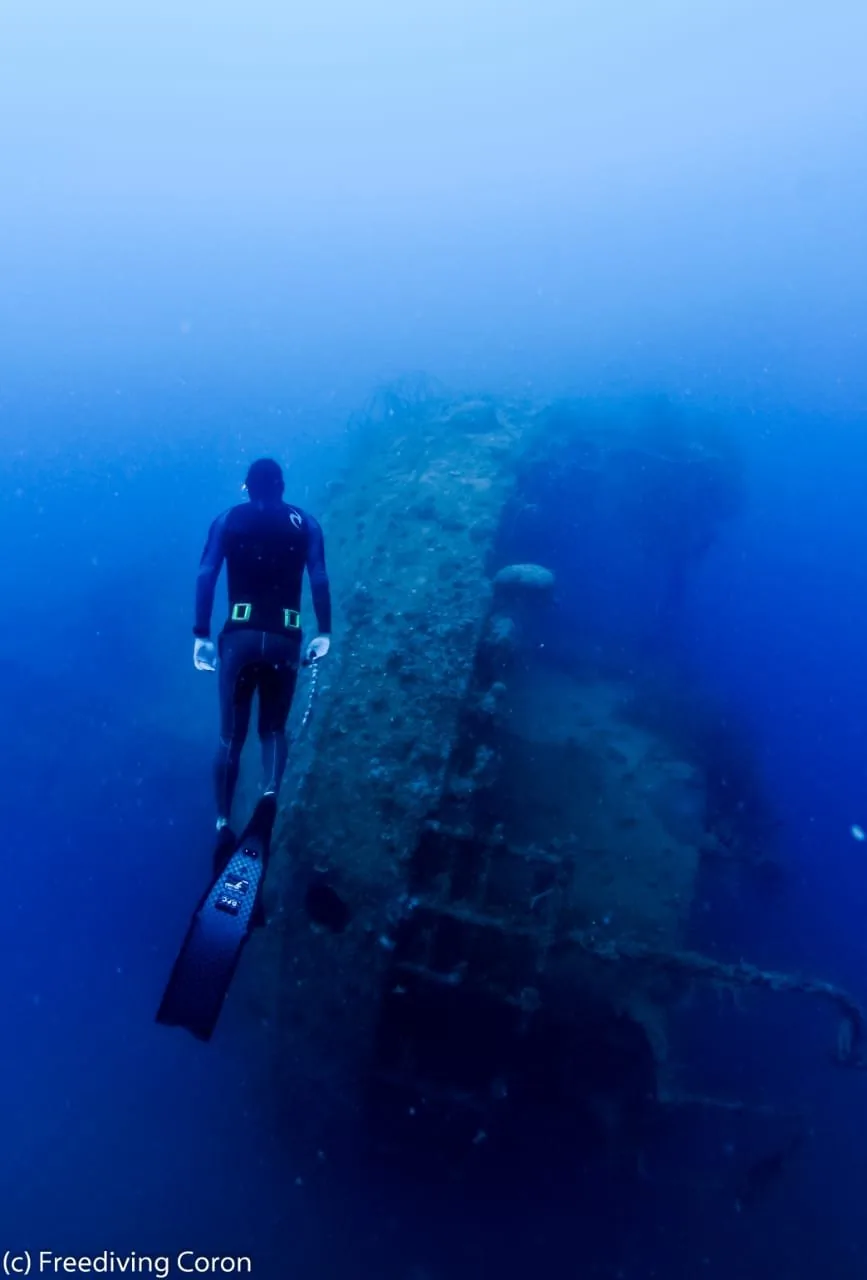
- Size & layout
- ~35 m wreck, on starboard side; bow ~3–5 m, stern ~20–22 m
- Viz
- ~10–15 m (often more); mornings are glassy
- Conditions
- Mild/none current; boat-only access (~40 min from Coron Town)
- Skill fit
- Shallow bow for beginners; deeper stern for progression
- Vibe
- WWII history, open structure, thriving reef life — a freediver’s “easy wreck”
Introduction
Hidden in the turquoise waters near Tangat Island lies the Teru Kaze Maru, also known locally as the East Tangat Wreck. Once a Japanese submarine hunter/tugboat prowling these seas, today it rests peacefully on the seabed, offering freedivers a captivating glimpse into history. As you approach the site, your boat crew might point out the vague shadow of a ship beneath the waves. Excitement builds as you slip into the water and see the wreck appear clearly below – a ghostly outline encrusted with coral. The Teru Kaze Maru is smaller than some of Coron’s giants, but freedivers often find it just the right size to explore on a single breath: you can swim from bow to stern in one go, passing over its open holds and along its intact ribs. Sunk during the infamous September 24, 1944 air raid, this 35-meter vessel now lies on its starboard side, almost as if still dodging enemy fire. The bow sits shallow, while the stern reaches deeper blue, giving a tiered layout ideal for different skill levels. You might dive down to peek at the bow’s gun mount (now festooned with sponges), then on another dive, venture a bit deeper along the mast towards the stern. All around, reef fish play hide-and-seek among the wreckage, and soft corals sway where sailors once stood. There’s a serene, almost reflective atmosphere here – you are finning through a piece of WWII history that nature has gently reclaimed. East Tangat Wreck isn’t just a dive; it’s a journey back in time, wrapped in the colorful embrace of a coral reef.
Freediving Conditions
The Teru Kaze Maru wreck lies at very accessible depths for freedivers. The bow starts around 3–5 m below the surface – extremely shallow, you can practically snorkel over it and make out details. From there, the wreck slopes down along a sandy bottom to about 20–22 m at the stern (maximum depth). This means the wreck spans depths comfortable for beginners (the upper sections) and also challenging enough for advanced divers who want to reach the deeper end. Visibility here is typically good, often around 10–15 m or more on clear days. Because it’s near a reef and relatively protected, the water is usually clear, especially at the shallower end where light penetrates fully. The wreck is positioned near Tangat Island (east side of it), benefiting from the generally clear waters of Coron Bay. Currents are usually mild. Being near an island, there can be gentle currents depending on tide, but most reports indicate it’s a calm dive – some categorize it as suitable for all levels with minimal current. If anything, a slight current may run parallel to the wreck, but you can use the structure as a shield if needed. Generally, you won’t be fighting a drift; often the water is still. Water temperature is warm (around 28–29 °C). If you plan to dive repeatedly to ~20 m, a thin wetsuit (1.5–3 mm) might be nice just to keep your core warm over a session, but many freedive in just swimwear or a skin, enjoying the tropical water.
Structure orientation: The wreck is on its side, meaning one side of the deck faces upward. This actually creates a profile that’s easier to see and navigate – you’re not dropping into tight spaces, but rather along what was once a side of the ship, now functioning like an artificial reef wall.
Points of interest: Freedivers can dip their heads into the cargo holds (accessible around 10–15 m depth) – they are open and safe, essentially like large hollow sections where you can briefly swim in a meter or two and back out, getting a feel for wreck penetration without actually going into an overhead environment. Because of the small size of the wreck, orientation is straightforward – you won’t get lost. You can always see an exit to open water from any part.
Technique and approach: A common freediving approach is to start at the shallow bow and follow the wreck deeper on subsequent dives, using the structure as a visual guide (almost like following a wall down). Another approach is to attach a freedive line near the stern to safely train at the ~20 m depth while enjoying the view of the wreck nearby. Local freedive instructors sometimes do this, as it’s both a training dive and a fun dive in one – the wreck provides an engaging visual reference and a sense of security (psychologically, being near something can make depth feel easier).
Surface conditions: Usually calm, but since it’s a bit more out in the bay than Lusong, occasionally small waves or chop in the afternoon if winds pick up. Morning dives are often glassy. Regardless, you’re in open sea (no enclosing cove), so always have a surface marker buoy/float so your boat can spot you.
Access: It’s located right next to Sangat Island, about 50m away, near Tangat (and not far from Lusong). Typically about 40 minutes by boat from Coron town. Boats will often tie to a mooring buoy on the wreck (dive operators maintain one), or they anchor in sand nearby. No shore entry – it’s a direct water entry from the boat. Given the depths, snorkelers can see the top but won’t see the deeper stern clearly, so it’s more rewarding for freedivers who can dive down to see the whole thing. In sum, East Tangat/Teru Kaze Maru offers gentle conditions: shallow starting depth, manageable max depth, low current, good viz – making it a prime site for an introduction to deeper wreck diving.
Marine Life
The East Tangat wreck has been underwater for over 75 years, so it’s well integrated into the reef ecosystem. Much like the Lusong Gunboat, it’s adorned with a variety of corals and sponges. The shallow bow section gets plenty of sunlight, so you’ll find hard corals (branching and stony corals) growing on and around it. These corals are home to reef fishes such as sergeant majors, damsels, and moorish idols. Expect small schools of fusiliers darting around the upper wreck in sparkles of blue and yellow. The deeper sections of the wreck, being a bit more shaded, attract soft corals and sea fans, which sway in the gentle currents. In these nooks you might spot fire urchins or feather stars clinging on. Lionfish are commonly seen hovering under beams and in the cargo hold areas – their flowing fins and striped bodies adding to the mystique of the wreck. Keep an eye out for scorpionfish camouflaged against the rust and coral – perfectly still and blending in (another reason not to touch anything!). Divers have also noted seeing juvenile groupers and sweetlips sheltering inside the larger hollow sections. On the sandy bottom around the wreck, goby-and-shrimp pairs are likely busy at their burrows, and garden eels might peek up if the sand flats are undisturbed. One special resident of many Coron wrecks is the blue-ringed octopus – rare but present. While tiny and elusive, they sometimes inhabit crevices of wrecks; admire from afar if you see one. On a less hazardous note, colorful nudibranchs often crawl along the wreck. The mix of metal and coral provides a buffet for them. One freediver recounted seeing a trio of batfish that often hang around the stern, almost like guardians of the ship. They are friendly and may follow you for part of your dive, their silvery bodies reflecting your silhouette. It’s also worth noting that the site’s Japanese name “Teru Kaze” means “Shining Wind” – poetic, and fitting when you see silvery baitfish shimmering around the wreck in the sunlight. In terms of larger marine life, it’s less likely here compared to outer reefs; however, occasionally turtles have been seen cruising between wrecks in Coron Bay. The coral reef adjacent to the wreck (if you swim a short distance off to the side) can be healthy too, with its own set of reef fish (angelfish, parrotfish, etc.). Since this wreck is slightly deeper than Lusong, snorkelers don’t swarm it as much, meaning the fish here can be a bit more relaxed and numerous. At dusk, the wreck likely becomes a hunting ground: expect trevally or emperors coming in to feed on the smaller fish, and perhaps the odd barracuda lurking on the fringes. Overall, East Tangat’s marine life complements the wreck perfectly – not as overly grown as a reef, so you still clearly see the ship’s form, but plenty of life to remind you that nature now rules here. It’s a thriving reef in the shape of a ship.
Historical Significance
The Teru Kaze Maru is steeped in WWII history. It was a Japanese Navy auxiliary vessel, specifically recorded as a ~35 m submarine chaser, which also might have been used as a tug or patrol boat. Interestingly, records indicate it wasn’t originally built in Japan – one source notes it was built in Greenock, Scotland in the early 1900s and later acquired or repurposed by the Japanese. This makes its journey to the Philippines quite a tale in itself. On 24 September 1944, during the raid on Coron Bay, Teru Kaze Maru was anchored off East Tangat Island (hence the nickname East Tangat Wreck). It was likely trying to take cover among the islands. U.S. aircraft from a carrier task force struck in the morning hours, bombing and strafing any vessels they could find. The Teru Kaze Maru, being relatively small, might have attempted to flee or was hit quickly. It sank in shallow water just off Tangat’s shore. The fact that its bow is so shallow suggests it might have gone down stern-first or even exploded and settled balanced on a slope.
In the immediate years after WWII, these wrecks were just war debris to the locals. But over time, they became coral havens and also a source of scrap metal for enterprising salvage. It’s possible some parts of Teru Kaze were salvaged (like the engine or propeller) in the 1950s–60s by scrap divers, which might be why certain parts are missing. However, the bulk of the hull remained. Divers started seriously visiting Coron’s wrecks by the late 1970s, and by the 1980s dive tourism took off. Teru Kaze Maru, though smaller than the likes of Irako or Okikawa Maru, gained popularity as an easier wreck dive. It wasn’t until more recently that it earned the reputation as a prime freediving wreck – thanks to its depth profile. In local dive shop lore, the Teru Kaze Maru is sometimes overshadowed by bigger wrecks, but those who dive it often call it a “hidden gem.” It’s also one of the lesser crowded sites, giving it a more untouched vibe. Culturally, the wreck itself isn’t tied to the local community in legend, but it stands as a dive-site memorial. Some dive operators perform a brief moment of silence or salute underwater when diving the WWII wrecks, in respect for the lives affected. This particular wreck likely had a small crew – perhaps 20–40 men – some of whom may have perished when it sank. Thus, in a way, it is a tomb and memorial. Legally, Teru Kaze Maru (like all Coron wrecks) is protected under the Philippine National Heritage law which forbids removal of artifacts. The name Teru Kaze translates roughly to “Shining Wind.” Divers and history enthusiasts sometimes try to find traces of its story – like inscriptions or the remnants of armaments. It’s known that it had anti-submarine depth charges and perhaps a bow gun; if you find cylindrical metal drums around, those could be old depth charges now encrusted. Touch nothing, of course, but it’s fascinating to spot a piece of history.
GPS and listings: Coordinates put it around 11.9741° N, 120.0790° E. The site appears on many dive charts and is often paired with other wrecks (e.g., Lusong or Olympia) for a day trip.
Safety Considerations
Freediving the Teru Kaze Maru (East Tangat Wreck) is relatively straightforward, but:
- Wreck penetration caution: Stick to open holds and the perimeter; avoid enclosed spaces.
- Silt & viz: Don’t fin near the sand or kick inside holds; stagger dives to avoid silting each other.
- Depth awareness: The stern at ~20 m can be near the limit for some; progress gradually (use a line if training).
- Equalization: Stay disciplined while sightseeing along the slope.
- Sharp edges & entanglement: Rusted metal and occasional fishing line—keep hands clear; wear a thin suit/rashguard.
- Marine life hazards: Stonefish/scorpionfish on wreck; lionfish under ledges—observe, don’t touch.
- Boat traffic: Use a float/flag; listen for engines; surface cautiously.
- Buddy system: One up, one down—especially when exploring the deeper stern.
- Timing: Mornings offer calmer surface and brighter light; afternoons can bring chop and dimmer interiors.
- Emergency readiness: Have a rested exit plan; boat ladder/assistance ready after multiple drops.
- Environmental stewardship: No touching, no taking; avoid breaking coral or stirring sand.
Handled thoughtfully, East Tangat delivers a safe, atmospheric wreck session without the usual overhead risks.
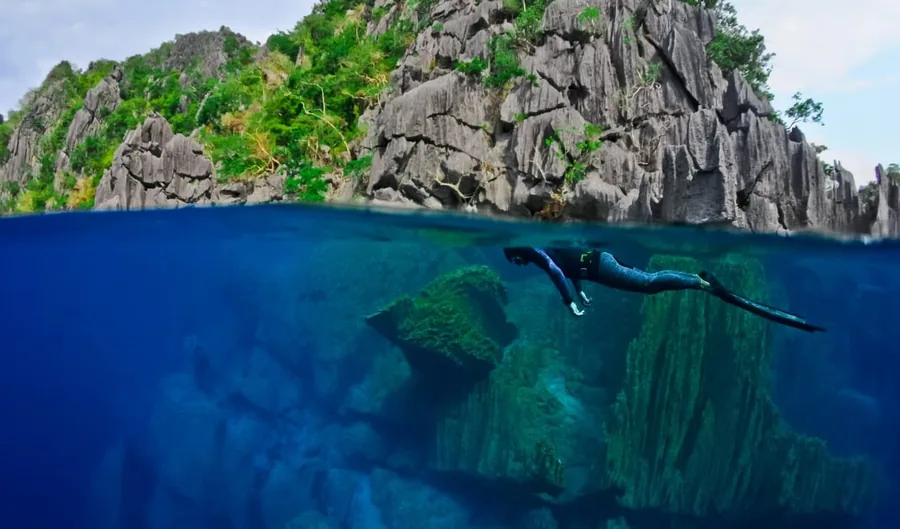 Barracuda LakeCoron Island · ~42 m deep
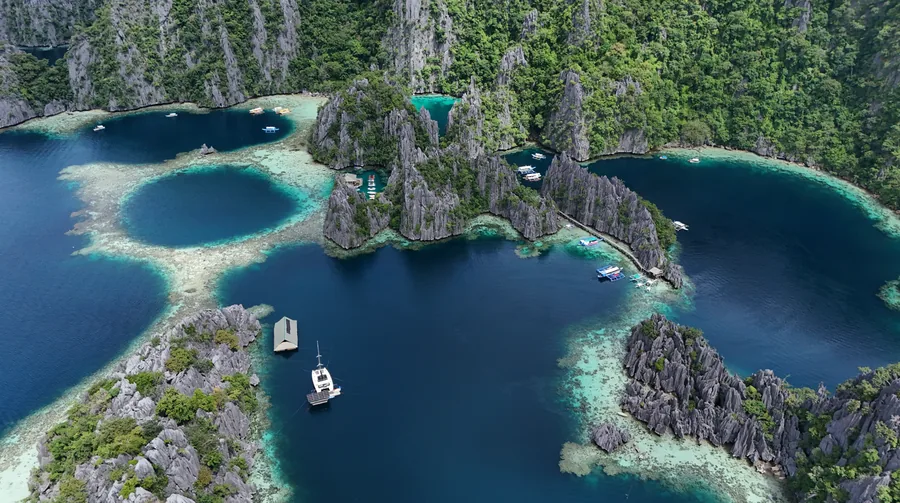 Twin LagoonCoron Island · 29–30 °C
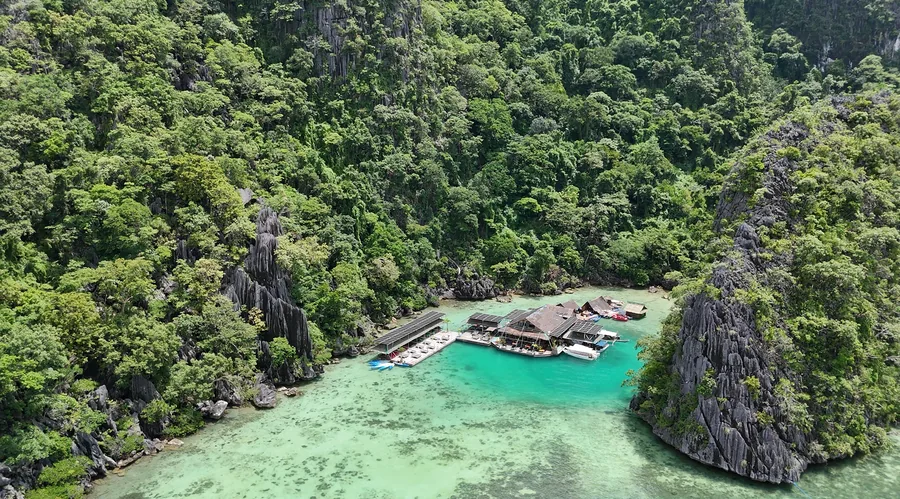 Paolyn Private LagoonsLaknisan Lagoon · ~30 m deep
 Cathedral CaveCoron Island · 6–8 m entrance